AWS Hands-On Projects #2 – How I Set Up This WordPress Blog on AWS Lightsail.
For project 2 I was encouraged to try Lightsail to set up a blog. I thought it a good idea because I’d need a place to document my projects anyway, so this was perfect.
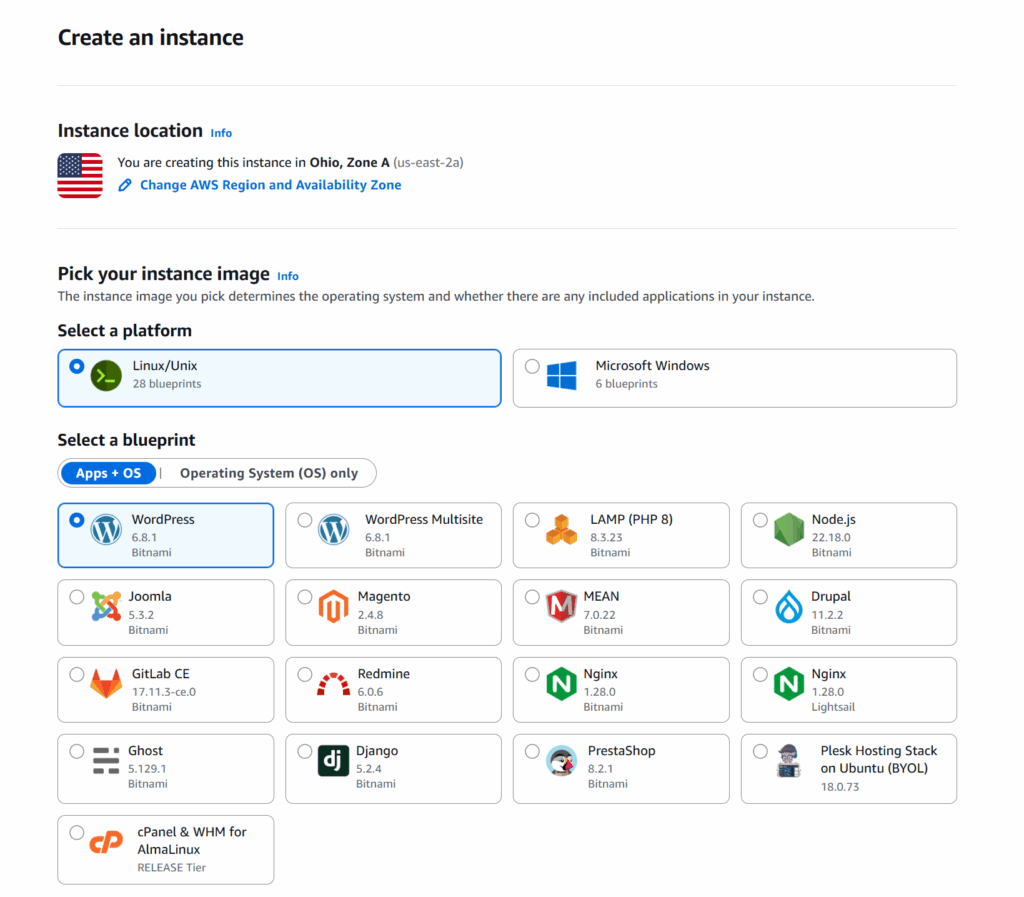
Selecting a region and an instance image.
After navigating to Lightsail and selecting “Create Instance”, select the region that is closest to your target audience, for best performance. After that, pick the image that works for you.
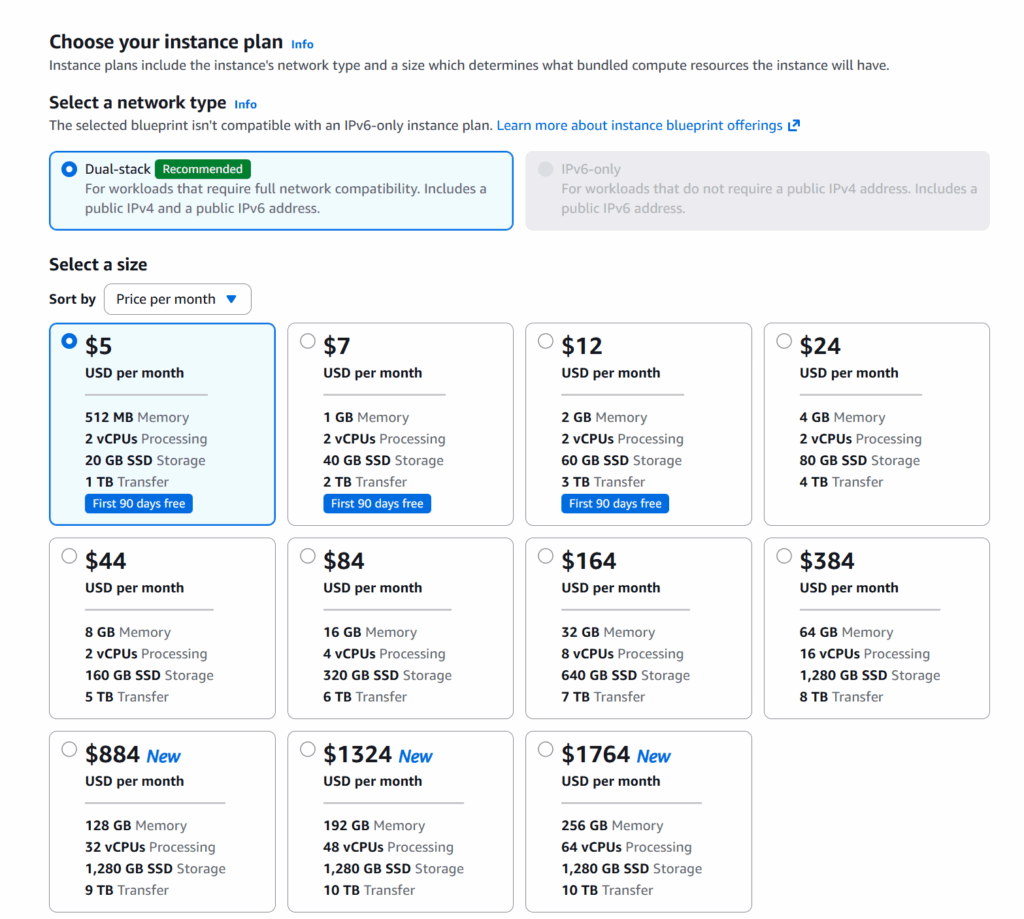
Price selection.
I chose the $5/month here. This is just a demo project, and traffic will not require anything more than that for me. If you are just planning a project, or practicing, you also have 90 days free 9first time only).
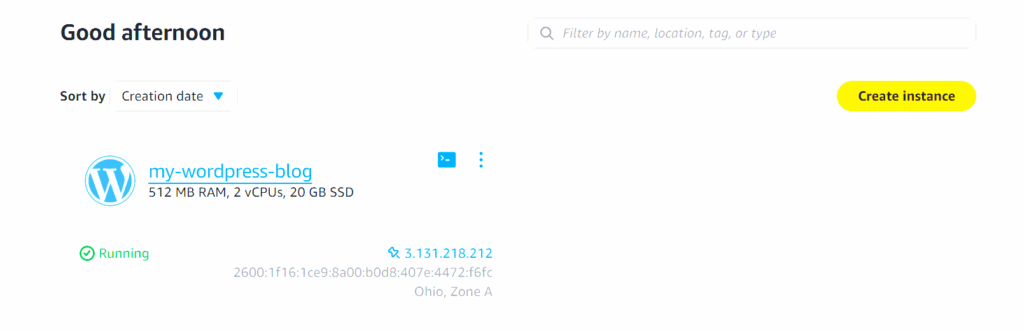
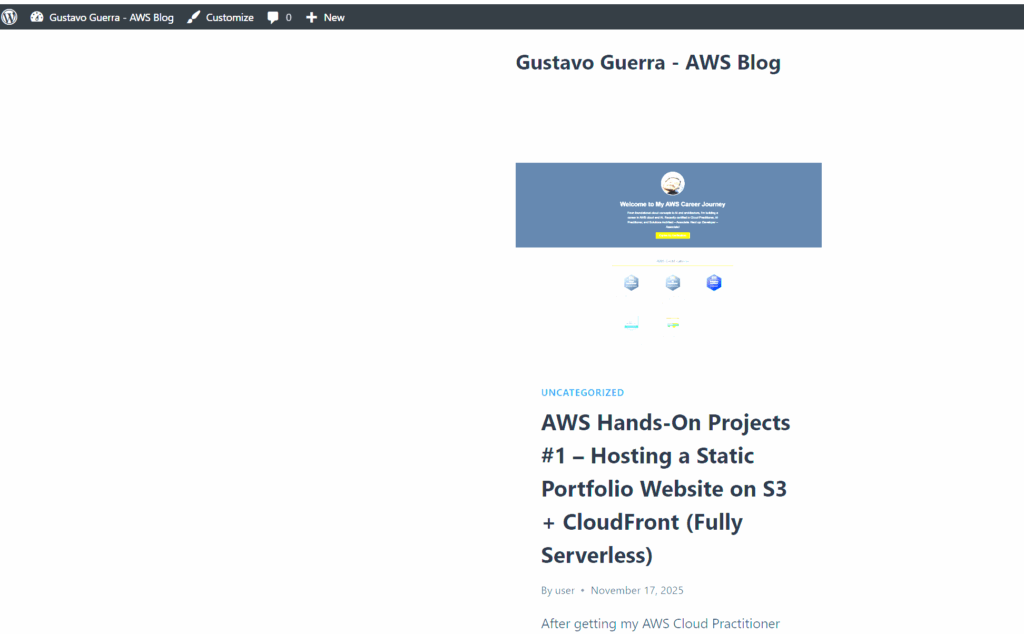
Instance is ready and running.
After picking a name for your instance and waiting for it to start, you can visit the public IP address, and should see a welcome page.
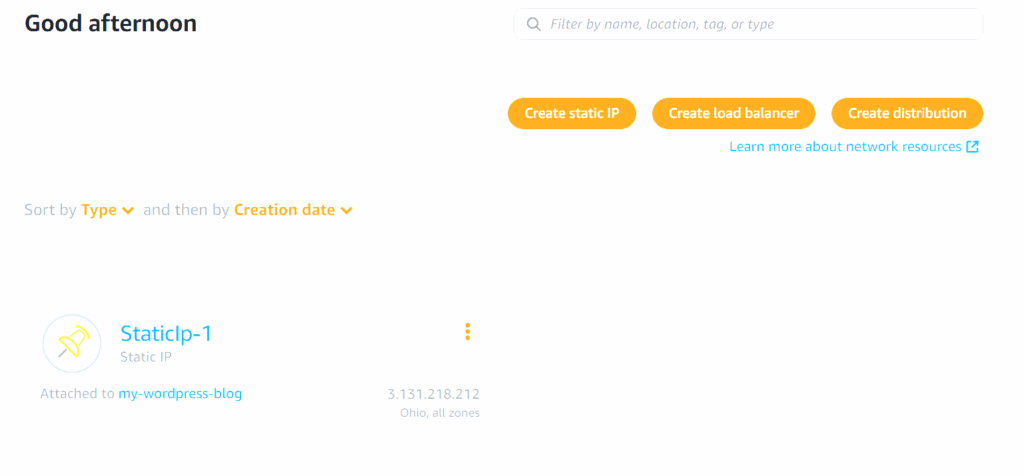
Setting up Static IP.
After recovering your admin password by connecting through SSH, you should set up a static IP to avoid changes on reboots and attach it to your instance.
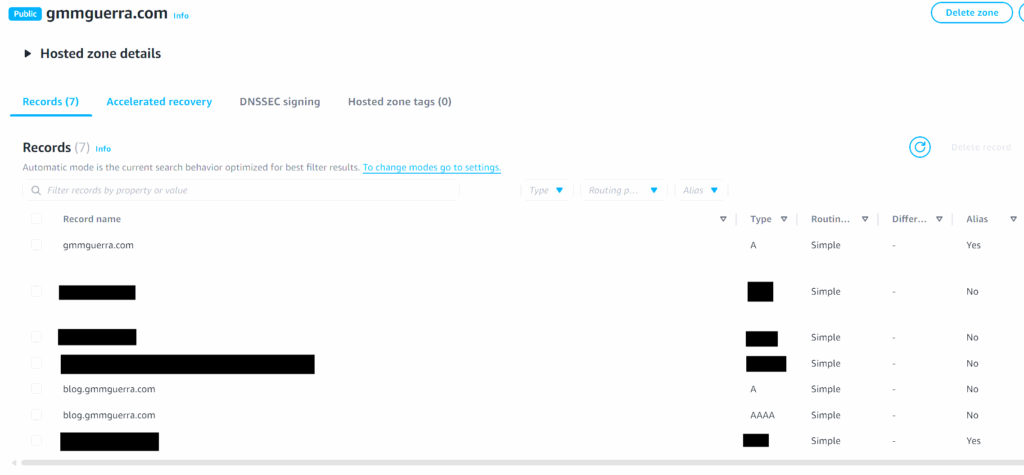
Setting up a custom Domain.
If you have a custom domain, you can point an A record from Route 53 to the static IP you just set up.
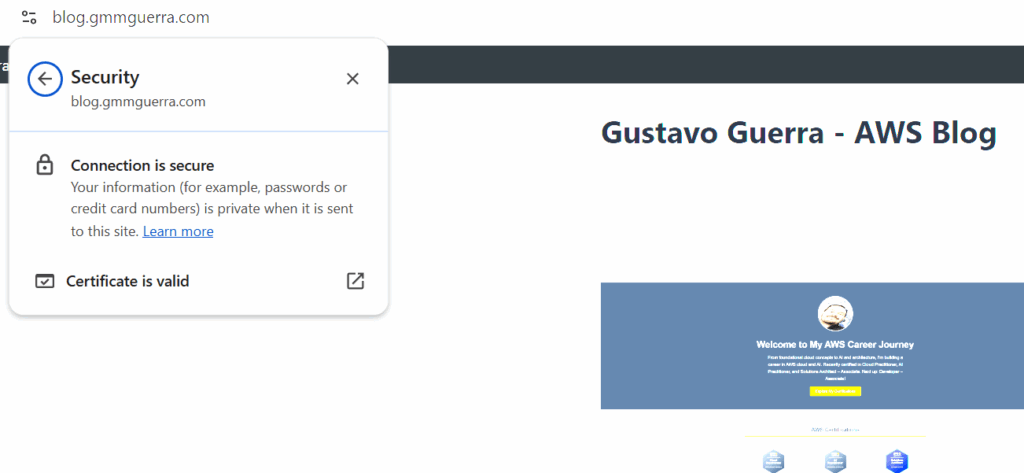
Verifying encryption.
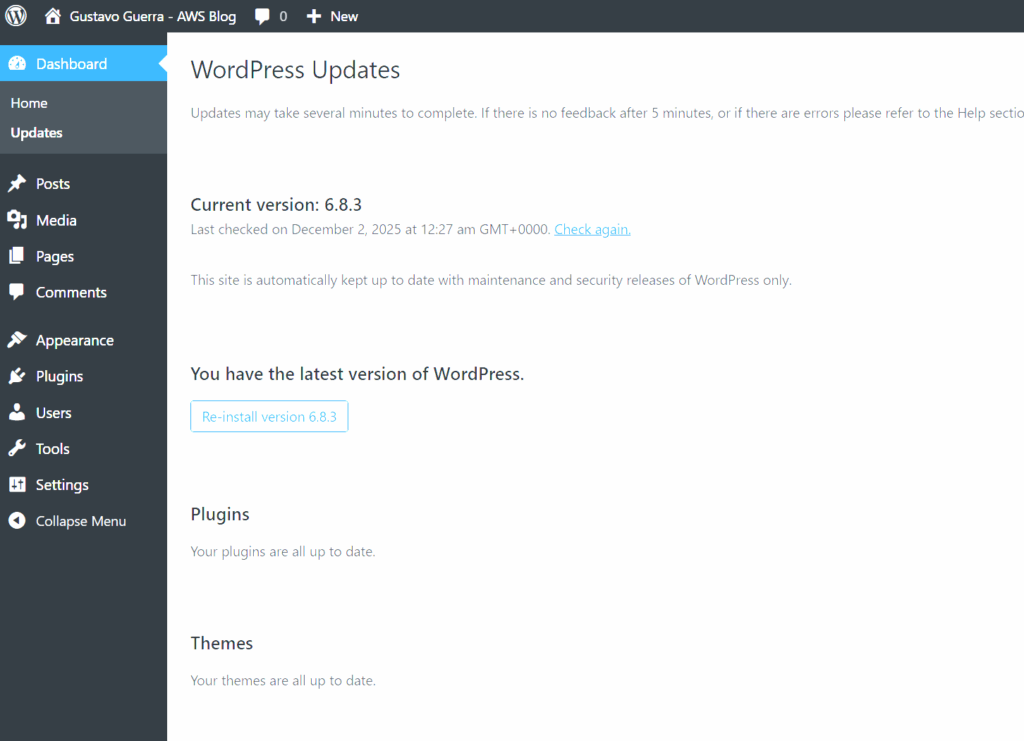
Updating WordPress and plugins.
Here I installed a couple themes and plugins that I wanted to use, and updated them.
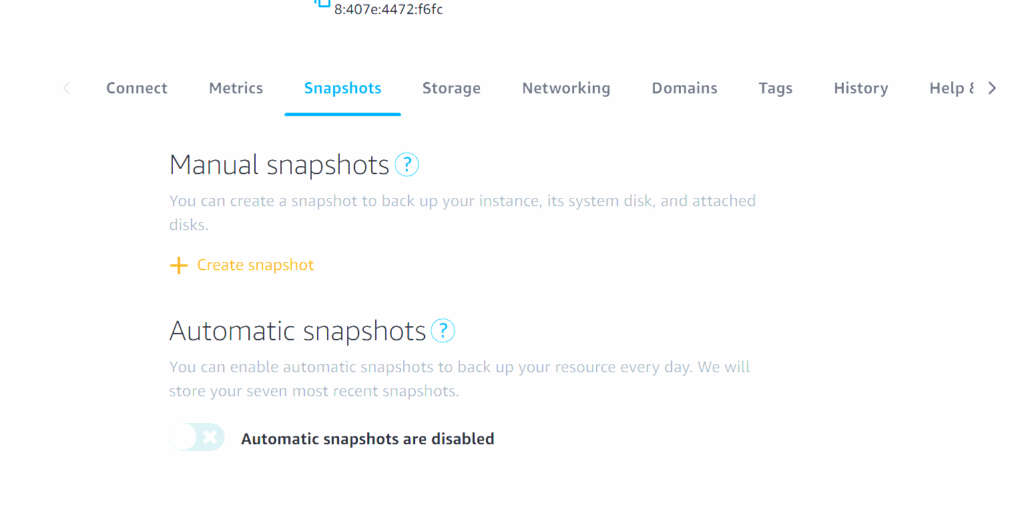
Set up manual or automatic backups.
Set up backups if you want. Recommended if there’s work you don’t want to lose here.
What I learned.
- Lighsail is basically a pre-built VPS with a one-click WordPress
- It has fixed monthly prices, so no surprise data-transfer bills
- It’s easy to get your static IP and free SSL in just a few clicks
- Snapshots are great, and very simple to set up
- Has it’s own CDN, cheap, global and fast.